
Understanding the Benefits of Window Tint Near Me
Enhanced Comfort and UV Protection
Window tinting is more than just an aesthetic upgrade; it significantly enhances the comfort level within your vehicle. Awareness of the harmful effects of UV rays has increased, leading more drivers to seek protective solutions. By getting window tint near me, you can reduce UV radiation exposure by up to 99%. This not only protects your skin but also safeguards your vehicle’s interior from fading and cracking. Tinted windows reflect heat, ensuring that the cabin remains pleasant, especially during scorching summer months. Whether running errands or embarking on a road trip, the comfort offered by tinted windows can elevate your driving experience immensely.
Improved Privacy and Security
Privacy is another compelling reason to consider window tinting. Tinted windows limit visibility into your vehicle, which can deter potential thieves and enhance the sense of security. Passersby are less likely to see valuable belongings or personal items left inside. Additionally, if an unfortunate event occurs, such as a window break, tinted film can hold shattered glass in place, minimizing the risk of injury from flying shards. With an appropriate window film applied, your vehicle offers not just safety but peace of mind.
Energy Efficiency and Cost Savings
Beyond comfort and security, installing window tints can lead to noticeable energy savings. By reducing heat absorption, air conditioning systems don’t have to work as hard, translating into lower fuel consumption. In fact, studies have shown that vehicles with tinted windows can save drivers significant amounts on fuel annually. Moreover, businesses can benefit economically from energy-efficient window tints in their fleet vehicles, boosting productivity while cutting costs.
Choosing the Right Type of Window Tint
Different Tint Materials Explained
The market for window films showcases various materials, each delivering distinct benefits. The most common types include:
- Dyed Window Tint: This is the most affordable option and offers basic UV protection and privacy. However, its longevity can be shorter compared to other types.
- Metalized Window Tint: Incorporating tiny metal particles, it provides excellent heat and UV rejection while enhancing shatter resistance. However, it can interfere with electronic signals.
- Ceramic Window Tint: Currently at the top in terms of quality, ceramic tints offer high UV protection and heat rejection without fading or signal interference, ensuring a high-performing solution.
- Carbon Window Tint: This film provides good UV and heat rejection with a matte finish, ideal for maintaining the vehicle’s aesthetics without the glare associated with metallic films.
Legal Considerations for Window Tint
Before proceeding with any tint installation, it is crucial to understand the legal regulations in your state or locality. Laws concerning window tint darkness and reflectivity vary, often reflecting the need for both driver safety and the visibility needed by law enforcement. Most states stipulate specific VLT (Visible Light Transmission) percentages for different windows. Researching your area’s laws ensures compliance and averts potential fines.
How to Select the Best Tint for Your Vehicle
Choosing the right tint is a balance between practicality and personal preference. Consider these factors:
- Determine your primary goal: Is it for heat rejection, privacy, aesthetics, or protection?
- Evaluate the local climate: If your region experiences extreme sun exposure, opt for high-performance films.
- Budget constraints: While cost is a factor, weigh it against potential savings in fuel and interior maintenance.
- Aesthetics: Pick a tint that complements your vehicle’s color scheme and personal style.
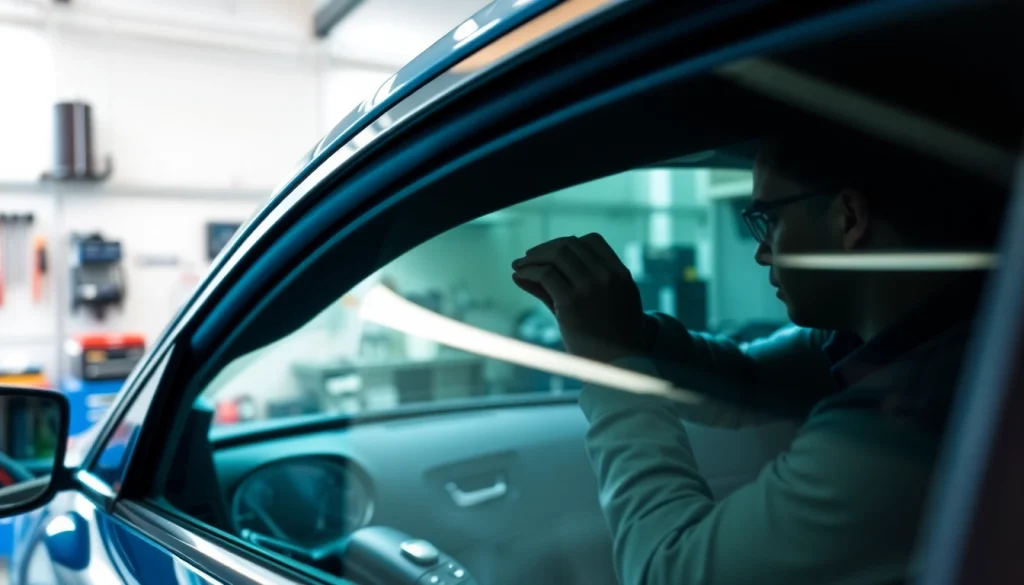
The Window Tint Installation Process
Preparation for Installation
Before starting the installation, proper preparation is vital. Clean the windows thoroughly to ensure a smooth adhesive bond. Avoid direct sunlight and high humidity, as these conditions can lead to bubbles and improper adhesion.
Step-by-Step Installation Guide
- Clean the inside of the windows using a suitable cleaner and a microfiber cloth.
- Measure and cut the tint film to fit the window dimensions adequately, leaving extra material for adjustments.
- Wet the glass thoroughly with a slip solution. This mixture helps position the film accurately.
- Peel and apply the film to the window, starting from one edge and gradually smoothing it down.
- Trim the edges carefully, ensuring a clean line that fits well with the window edges.
- Use a squeegee to remove air bubbles and excess water, thoroughly sealing the film against the glass.
- Allow the tint to cure as per manufacturer instructions, usually a few days, before rolling down the windows.
Common Mistakes to Avoid
Amateur installation can lead to many issues, such as uneven application, bubbling, or peeling. Common mistakes include:
- Rushing the cleaning process, which can leave debris behind.
- Incorrect film cutting, leading to inadequate coverage or uneven edges.
- Failing to use enough slip solution, making the installation tougher and inviting air bubbles.
- Neglecting to follow curing instructions, which can result in premature damage to the tint.
Maintenance Tips for Window Tint
Cleaning Your Tinted Windows
To maintain the integrity of your window tint, cleaning should be done carefully. Use a gentle, non-abrasive cleaner and a microfiber cloth to avoid damaging the film’s surface. Ammonia-based cleaners can break down the tint material, so it’s best to avoid those entirely. Regular cleaning ensures your windows remain clear, enhancing visibility and aesthetics.
How to Prolong the Life of Your Tint
To extend the life of your window tint, consider these tips:
- Avoid rolling down tinted windows for the first few days post-installation to allow adhesion to set.
- Keep objects away from the glass surface, which can scratch the film.
- Regularly clean the windows but be cautious with excessive scrubbing or abrasive materials.
- Park in shaded areas when possible to minimize sun exposure, which can degrade tint over time.
Signs Your Tint Needs Replacement
Monitor your window tint for indicators that it may be time for a replacement. Common signs include:
- Fading or discoloration, particularly in spots where the sun hits directly.
- Bubbling or peeling along the edges of the tint.
- Distorted views or visual obstruction due to scratches or irregularities in the film.
FAQs About Window Tint Near Me
What Are the Benefits of Window Tint?
Window tint offers UV protection, enhances privacy, and reduces heat inside your vehicle, improving comfort.
How Long Does Window Tint Last?
Quality window tints can last from 5 to 10 years, depending on maintenance and installation quality.
Is Window Tinting Legal?
Yes, but laws vary by state regarding darkness and reflectivity. Always check local regulations before applying.
Can I Remove Window Tint Myself?
While possible, it’s recommended to have a professional remove tint to avoid damaging glass or adhesive residue.
How Do I Clean Tinted Windows?
Use a soft microfiber cloth and a non-abrasive cleaner. Avoid ammonia-based products that can harm the tint.

